Setting Up Your American Striking Wall Clock
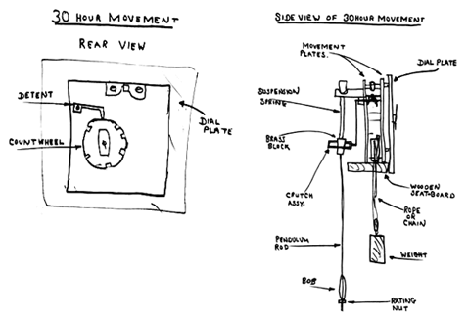
Hang the clock on a strong screw fitted to the wall using a wall plug. It should look straight, lay flat against the wall and not be able to wobble. The pendulum will have been removed for the journey home and this must now be fitted. Hook the pendulum onto the wire that hangs from the movement (it may well be swinging and the clock ticking) and is normally visible just behind the bottom of the dial.
At the top of this wire is a thin spring so take care not to twist, pull or raise it when attaching the pendulum. A gentle push to the left or right will start the clock ticking. If the tick is steady and even – all is well – if not, move the case, from the bottom, to the left or right until the tick is even. The case should still look straight.
To set the clock to the right time turn the minute (long) hand clockwise only, stopping at each hour until striking has finished.
To correct faulty striking turn the minute hand clockwise until it reaches the XII and the clock strikes. If the number struck is different to the time shown operate the correcting wire that hangs inside the case, just to the left of the pendulum, until the correct number of blows is struck. If there is no correcting wire, gently push round the hour (short) hand until it points to the correct hour then set the clock to the right time using the minute hand only.
If the clock goes too fast or slow the timekeeping can be regulated by turning the small nut at the bottom of the pendulum to raise or lower the bob. Raising the bob will make the clock go faster and lowering it will make the clock go slower.
Winding the clock. The clock should be wound fully every week. The left hand winder is wound clockwise and the right hand winder is wound anti-clockwise.


